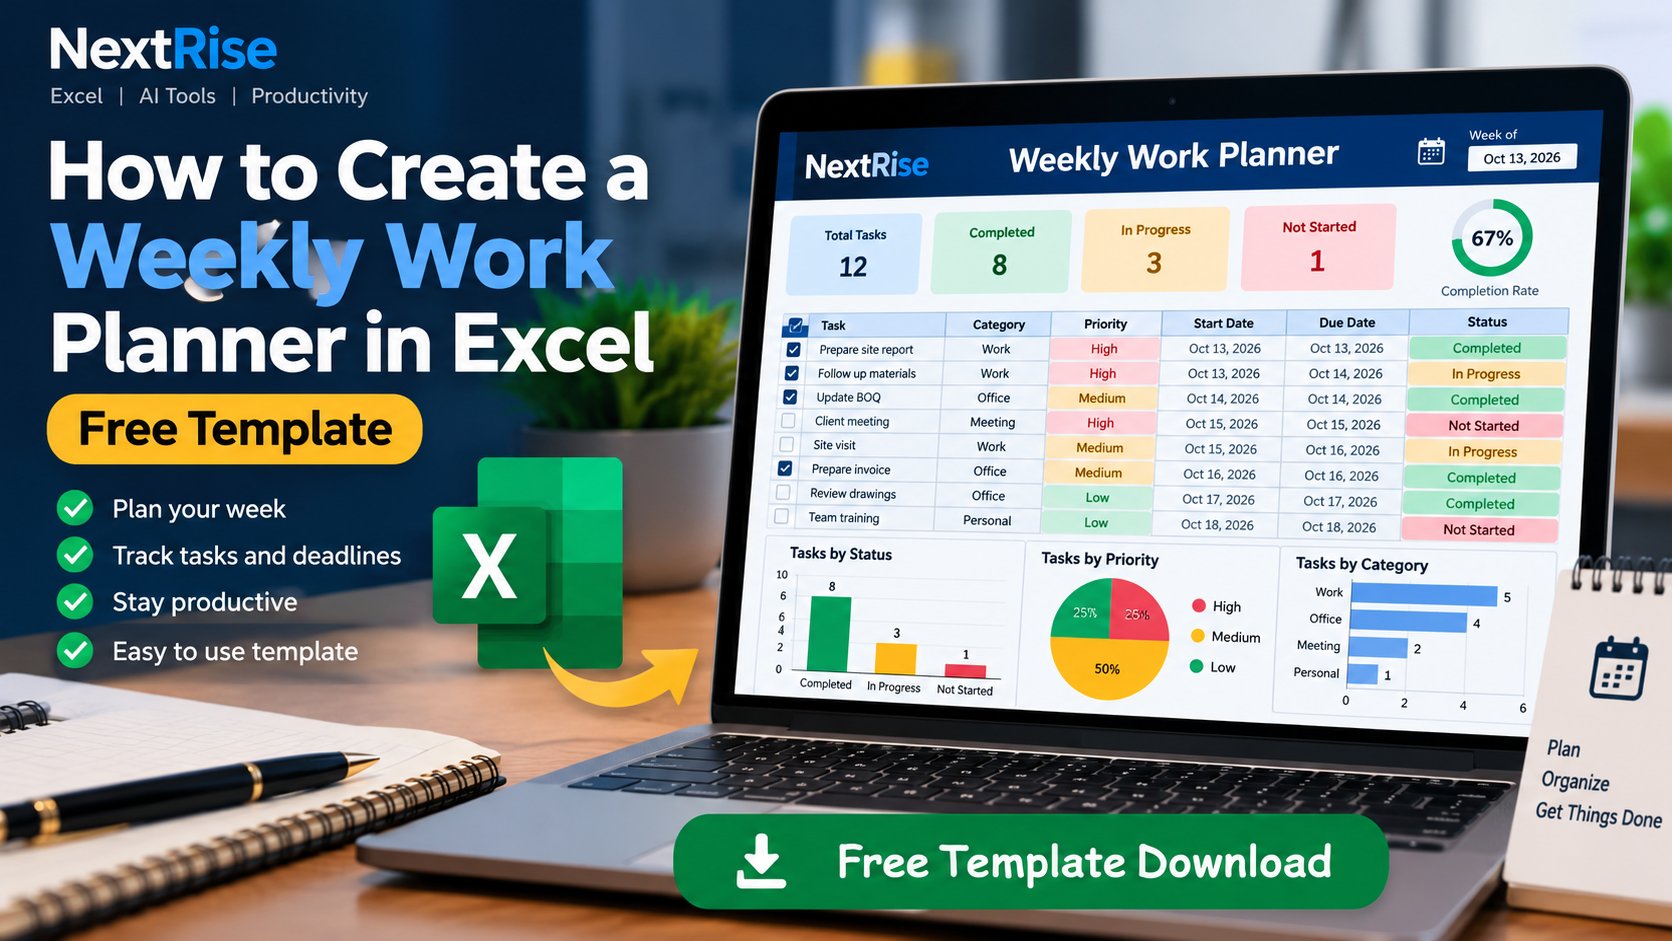
A weekly work planner gives you one place to decide what needs doing, when it is due, and what deserves attention first. Excel is a useful place to start because a simple table can be sorted, filtered, and updated as your week changes—without making the planning process complicated.
In this guide, you will build a planner from a blank worksheet, add formulas for progress and overdue tasks, and work through a realistic sample week. If you would rather begin with a ready-made workbook, download the free Weekly Focus Planner.
1. Choose the columns for your planner
Start with one task per row. In row 5, enter these headings so the first four rows are available for a title, week dates, and a small summary:
- A: Task — a specific action you can complete.
- B: Day — the day you plan to work on it.
- C: Deadline — the date the work is due.
- D: Priority — for example, High, Medium, or Low.
- E: Status — Not started, In progress, or Done.
- F: Planned hours — your estimate of focused work time.
- G: Days left — a formula-driven deadline reminder.
Select the headings and a few blank rows, then choose Insert > Table and confirm that the table has headers. Tables make it easier to filter a busy task list and extend formatting when you add rows. Give it a clear name, such as WeeklyTasks, in the Table Design tab.
Freeze the header row if you expect a long list, widen the Task column for readable descriptions, and format Deadline as a date. Keep the planner to the information you will actually review.
2. Add consistent priority and status choices
Data validation dropdowns reduce inconsistent entries such as “High,” “high,” and “urgent” all meaning the same thing. Select the task cells in column D, open Data > Data Validation, choose List, and enter:
High,Medium,LowRepeat for the status cells in column E using:
Not started,In progress,DoneExcel menus vary slightly by version. If you prefer, place each list in a small “Options” area on the same sheet and point the validation source to those cells. A visible list is easier to maintain if you later change the choices.
3. Plan a realistic week
Imagine you are coordinating a small project alongside regular work. For an illustrative week running from October 19 to 23, 2026, you have five key tasks and an estimated 9 hours of planned focus time. Replace its tasks and dates with your own.
| Task | Day | Deadline | Priority | Status | Hours |
|---|---|---|---|---|---|
| Prepare Monday team update | Monday | Oct 19 | High | Done | 1 |
| Review customer feedback | Monday | Oct 20 | High | In progress | 2 |
| Draft project brief | Tuesday | Oct 21 | Medium | Not started | 3 |
| Check campaign results | Wednesday | Oct 22 | Medium | Not started | 2 |
| Send Friday project summary | Friday | Oct 23 | High | Not started | 1 |
| Planned focus time | 9 hours | ||||
The Monday update is already done, feedback review is underway, and the remaining work has not started. That makes the next action visible without treating every task as equally urgent. If new work appears, check the estimates and deadlines before adding it to an already full day.
4. Add formulas for deadlines and progress
These examples use the headings above, with task rows beginning in row 6. Enter the first formula in the indicated cell and copy it down, or enter it in the first data cell of the corresponding Excel Table column.
Show days remaining until a deadline
In G6, enter:
=IF(OR(C6="",E6="Done"),"",C6-TODAY())This leaves the result blank when there is no deadline or the task is done. A positive number means days remain, zero means due today, and a negative number means the date has passed. Format column G as a number, not a date.
Count planned, completed, and overdue tasks
If task rows run from 6 through 10, place these formulas in a summary area above or beside the table:
Total tasks:      =COUNTA(A6:A10)
Completed:        =COUNTIF(E6:E10,"Done")
Completion rate:  =IFERROR(COUNTIF(E6:E10,"Done")/COUNTA(A6:A10),0)
Overdue:          =COUNTIFS(C6:C10,"<"&TODAY(),E6:E10,"<>Done",C6:C10,"<>")
Format the completion-rate cell as a percentage. The overdue formula excludes blank deadlines and tasks marked Done, so an empty date is not mistakenly counted as overdue. Expand the row ranges when you add more tasks, or use structured references in a table, such as =COUNTIF(WeeklyTasks[Status],"Done").
Compare planned hours with finished work
To see the number of hours assigned to completed tasks, use:
=SUMIF(E6:E10,"Done",F6:F10)This is a sum of estimated hours for tasks marked Done, not a time log. If you need to compare estimates with actual time, add a separate Actual hours column and record the time consistently.
5. Make priorities and completion easy to scan
Use Excel conditional formatting to apply a restrained fill or text color to High priority tasks, overdue dates, and Done statuses. Keep the words visible as well as the colors so the planner remains understandable when printed or viewed by someone who does not distinguish the chosen colors.
- Prioritize deliberately: reserve High for work that has a meaningful deadline or consequence. Too many High items make the label less useful.
- Keep status current: update it when work starts or finishes, rather than relying on memory at the end of the week.
- Review deadlines: sort by date or filter for overdue work, then decide whether to complete, reschedule, or confirm the date.
- Leave room for change: estimate work time and avoid scheduling every available hour; meetings and unexpected requests can shift a plan.
Common weekly-planner mistakes to avoid
- Writing vague tasks. Replace “work on report” with a next action such as “draft the report summary.” A specific task is easier to schedule and mark complete.
- Mixing a planned day with a deadline. Keep Day and Deadline as separate columns. The day you intend to work on something may be earlier than the date it is due.
- Overloading the week. Use realistic hour estimates, account for fixed commitments, and move lower priority tasks when the workload no longer fits.
- Changing status labels. Use consistent dropdowns so formulas counting “Done” do not miss entries written as “Complete” or “Finished.”
- Copying formulas without checking ranges. Make sure summary formulas cover every task row, and check that date cells contain real Excel dates rather than text.
- Leaving last week’s plan untouched. At the start of a new week, review unfinished work and update its priority, due date, and planned day instead of blindly carrying every old entry forward.
Weekly work planner in Excel: FAQ
How many tasks should I put in a weekly planner?
There is no required number. Include the work you need to review and schedule, then use hour estimates and real deadlines to check that the week is feasible. A short list of clear actions is often easier to maintain than a long list of vague intentions.
Should I make a separate worksheet for each day?
Usually, one table with a Day column is easier to filter and summarize. Separate worksheets can make sense for a team or a detailed daily schedule, but they can also scatter tasks and make a weekly overview harder to scan.
How do I keep an Excel weekly planner up to date?
Review it briefly at the start of the week, update status as work changes, and check deadlines before finishing each day. At the end of the week, carry forward only the tasks that still matter and give them current dates and priorities.